Intégration Shopify
Install Seatext on your website by following the instructions below. The installation process is secure, and the AI remains inert until activated, ensuring the integrity of your website's content. Before you can install the script, you need a SEATEXT AI account. If you don't have an account yet, you can create one HERE
Intégration Shopify
Intégration étape par étape
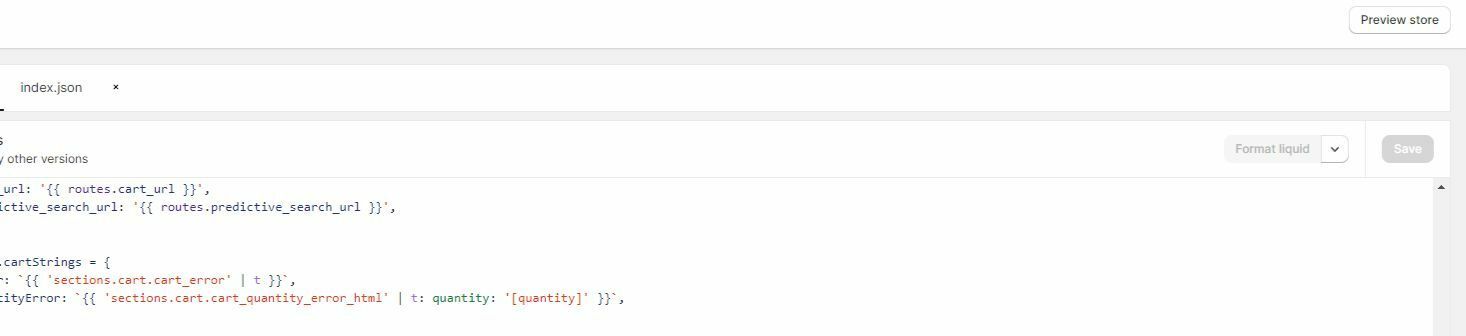
Copiez le code Javascript de SEATEXT AI qui apparaît dans cette section ci-dessous.
SEATEXTCODEINTEGRATION
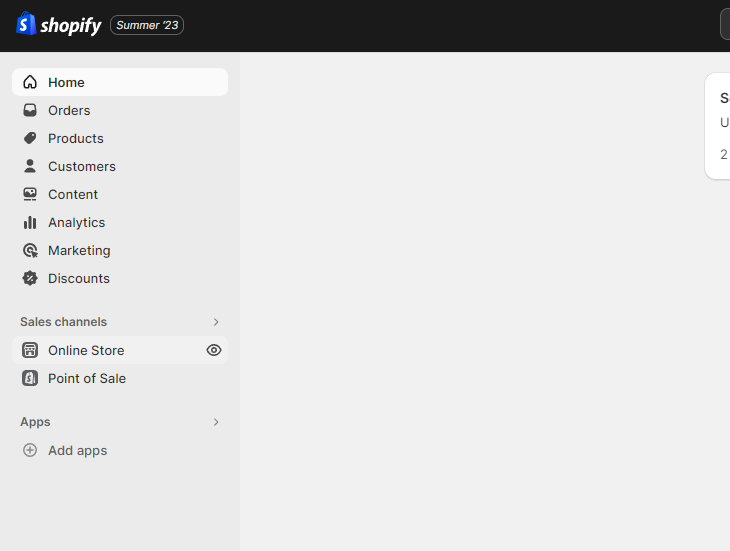
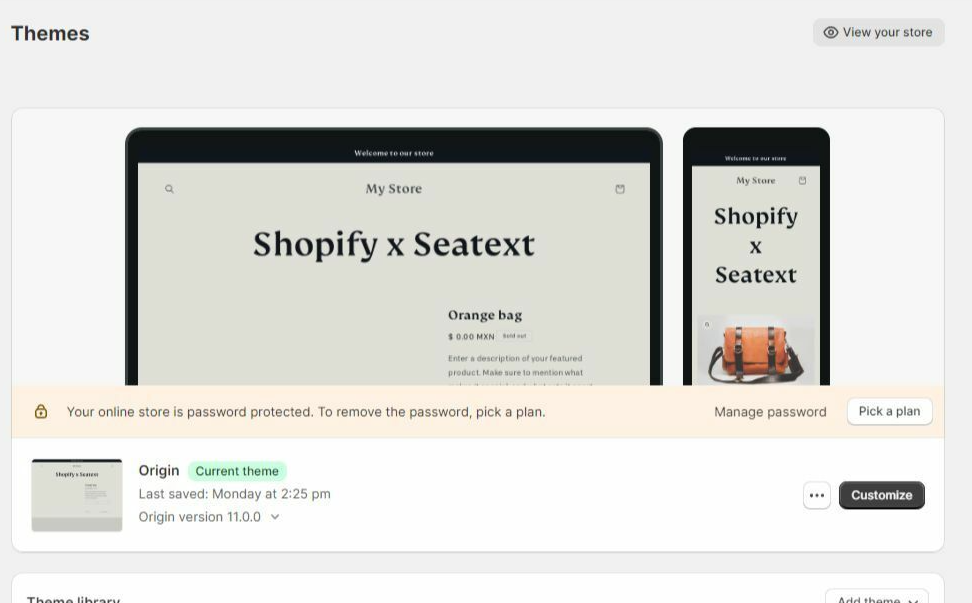
Accédez à votre compte Shopify et accédez à la section « Boutique en ligne ». À partir de là, sélectionnez « Thèmes ».
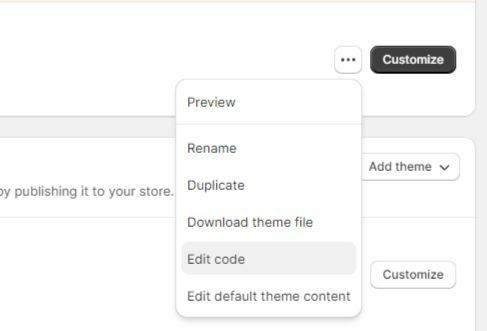
Dans la section Thèmes, localisez le thème que vous souhaitez traduire. Cliquez sur l'icône des trois points située à côté du thème souhaité et sélectionnez « Modifier le code ».
Sur la page Modifier le code, une liste de fichiers s'affichera sur le côté gauche de l'écran. Accédez au dossier « Layout » et localisez le fichier nommé « theme.liquid ».
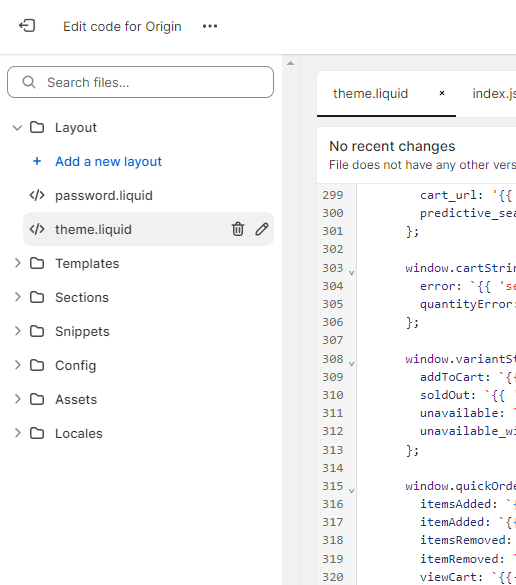
Dans le fichier theme.liquid, faites défiler vers le bas du code. Ici, vous trouverez la balise de fermeture </body>. Collez l'extrait de code JavaScript fourni par SEATEXT AI directement au-dessus de la balise de fermeture </body>.


Une fois l'extrait de code collé avec succès, cliquez sur le bouton « Enregistrer » pour conserver vos modifications.
Multiple Domains If you need to use SEATEXT AI on multiple domains (e.g., a development domain and a production domain), you must create separate accounts for each domain. Each SEATEXT AI account is linked to a single primary URL. Restrictions and Security Development URLs, such as localhost, are restricted for security reasons. Ensure you use a valid, real domain for these cases. Dynamic development domains may not function properly, as SEATEXT AI might be unable to reliably associate traffic with your account. Using SEATEXT AI on Multiple Websites To use SEATEXT AI on several websites, create one account for each website.
Important: Visit or refresh your website several times and stay on your page for at least 40 seconds—this will activate the AI and link it to your account.
Important: Wait at least five minutes until you see your website name displayed next to the SEATEXT logo at the top of this page. This indicates that your website is connected and ready to proceed to the next step. If you do not see it at the top of the page after 10 minutes, please contact our support team immediately. This could indicate an issue during the installation on your platform, and you may need our assistance.
Activating AI Proceed to the Main AI Hub to activate the necessary AI on your preferred pages. Click on "Configuration" to adjust the AI parameters. Optional Editing: SEATEXT AI provides your initial round of automatic translations and variants for testing. Log in to your SEATEXT AI account, navigate to "Variants Edit" in the left panel, and select the URL and language you wish to edit. Here, you can review, create, or manually edit translations for your variants.
Implement the seatextonly Tag in Your Product Descriptions To optimize your product descriptions effectively, please follow these steps: Step 1: Access Your Shopify Theme Code Log in to your Shopify admin and navigate to Online Store > Themes . Click on Actions > Edit Code for your active theme. Step 2: Locate the Product Template Identify the file that renders the product description (typically named product.liquid or located within product-template.liquid ). Step 3: Wrap the Product Description Find the product description output code, which usually appears as:
{{ product.description }}
Modify this code to wrap it in a <div> with the data-seatextonly attribute as follows:
<div data-seatextonly> {{ product.description | raw }} </div>
Step 4: Test Your Changes Save your changes and preview a product page to ensure the description is displayed correctly. Verify that the data-seatextonly attribute is present in the HTML source (you can inspect this using your browser’s developer tools). For additional details, please refer to our documentation here: https://seatext.com/documentation-ai-scope