Shopify Integration
Pasang Seatext di website Anda dengan mengikuti petunjuk di bawah. Proses pemasangan aman, dan AI tetap nonaktif hingga diaktifkan, menjaga integritas konten website Anda. Sebelum memasang skrip, Anda memerlukan akun SEATEXT AI. Jika belum punya akun, buat di SINI
Shopify Integration
Integrasi langkah demi langkah
Salin kode JavaScript SEATEXT AI yang tersedia di bagian bawah ini.
SEATEXTCODEINTEGRATION
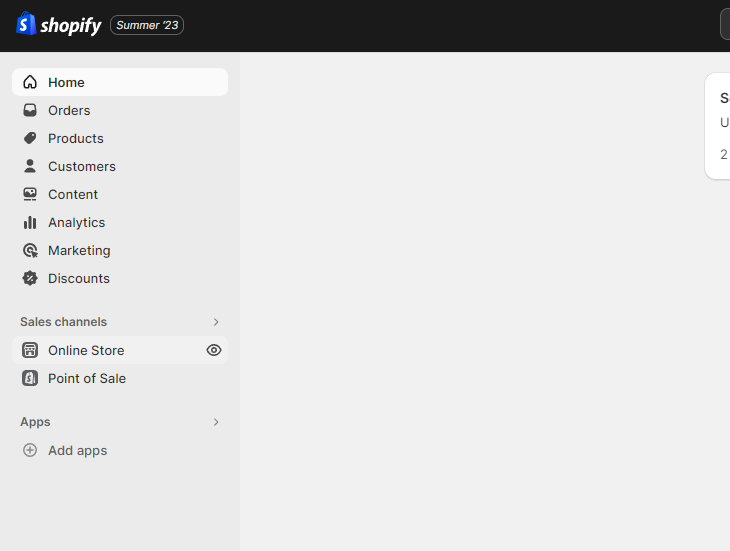
Access your Shopify account and navigate to the “Online Store” section. From there, select “Themes”.
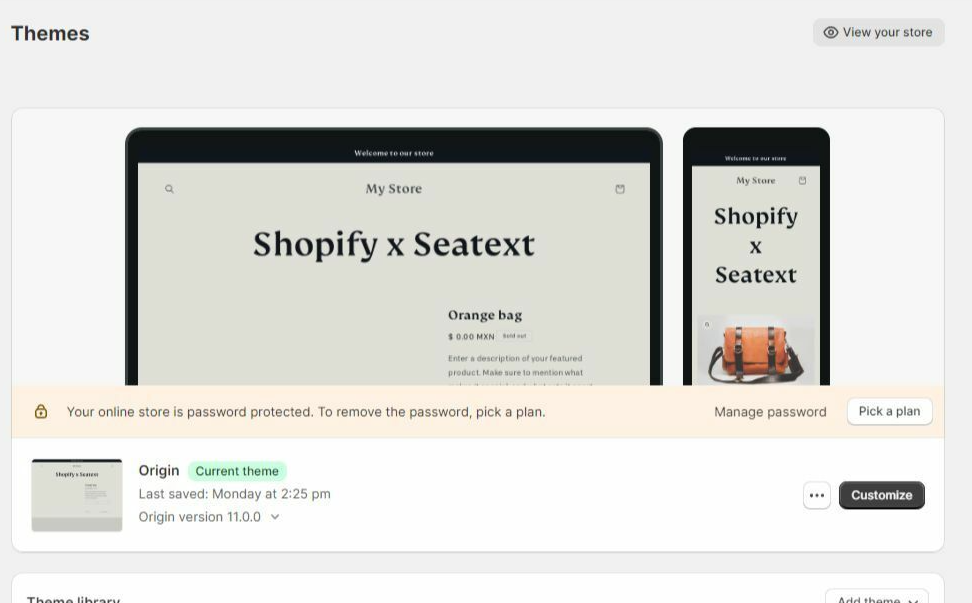
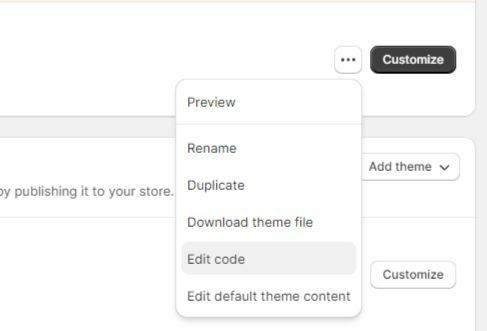
Within the Themes section, locate the theme you wish to translate. Click on the three dots icon located next to the desired theme and select “Edit code”.
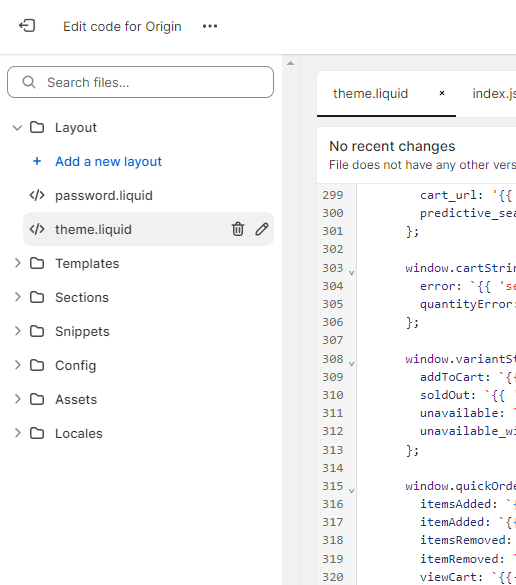
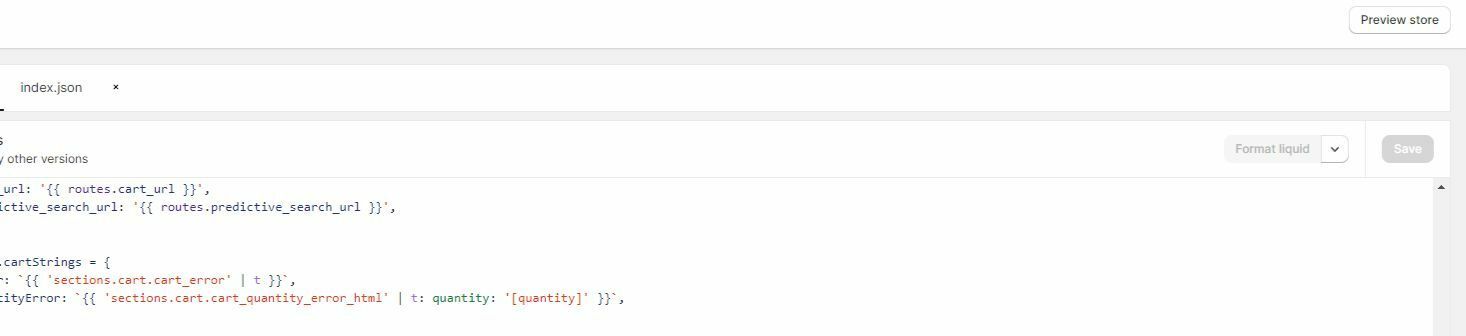
On the Edit Code page, you will be presented with a list of files on the left side of the screen. Navigate to the “Layout” folder and locate the file named “theme.liquid”.
Within the theme.liquid file, scroll down to the bottom of the code. Here, you will find the closing </body> tag. Paste the JavaScript code snippet provided by SEATEXT AI directly above the closing </body> tag.


Once the code snippet has been successfully pasted, click on the “Save” button to preserve your changes.
Beberapa Domain: Jika Anda perlu menggunakan SEATEXT AI pada beberapa domain (misalnya domain pengembangan dan domain produksi), Anda harus membuat akun terpisah untuk setiap domain. Setiap akun SEATEXT AI terhubung ke satu URL utama. Batasan dan Keamanan: URL pengembangan seperti localhost dibatasi demi keamanan. Pastikan Anda menggunakan domain yang valid dan nyata untuk kasus ini. Domain pengembangan dinamis mungkin tidak berfungsi dengan baik, karena SEATEXT AI mungkin tidak dapat mengaitkan lalu lintas dengan akun Anda secara andal. Menggunakan SEATEXT AI di Beberapa Website: Untuk menggunakan SEATEXT AI di beberapa website, buat satu akun untuk setiap website.
Penting: Kunjungi atau segarkan website Anda beberapa kali dan tetap di halaman tersebut minimal 40 detik—ini akan mengaktifkan AI dan menghubungkannya ke akun Anda.
Penting: Tunggu minimal lima menit hingga nama website Anda muncul di samping logo SEATEXT di bagian atas halaman ini. Hal ini menandakan website Anda terhubung dan siap untuk langkah selanjutnya. Jika tidak terlihat setelah 10 menit, segera hubungi tim dukungan kami. Ini mungkin mengindikasikan masalah saat pemasangan di platform Anda, dan Anda mungkin memerlukan bantuan kami.
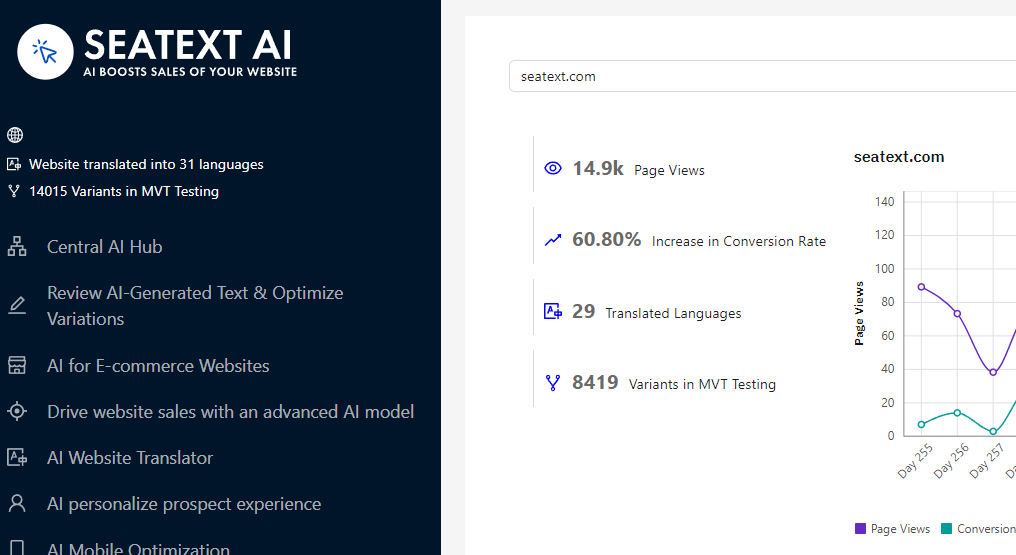
Mengaktifkan AI Lanjutkan ke Main AI Hub untuk mengaktifkan AI yang dibutuhkan di halaman favorit Anda. Klik "Configuration" untuk menyesuaikan parameter AI. Pengeditan Opsional: SEATEXT AI menyediakan terjemahan dan varian otomatis awal untuk pengujian. Masuk ke akun SEATEXT AI Anda, buka "Variants Edit" di panel kiri, dan pilih URL serta bahasa yang ingin diedit. Di sini Anda dapat meninjau, membuat, atau mengedit terjemahan untuk varian Anda secara manual.
Implement the seatextonly Tag in Your Product Descriptions To optimize your product descriptions effectively, please follow these steps: Step 1: Access Your Shopify Theme Code Log in to your Shopify admin and navigate to Online Store > Themes . Click on Actions > Edit Code for your active theme. Step 2: Locate the Product Template Identify the file that renders the product description (typically named product.liquid or located within product-template.liquid ). Step 3: Wrap the Product Description Find the product description output code, which usually appears as:
{{ product.description }}
Modify this code to wrap it in a <div> with the data-seatextonly attribute as follows:
<div data-seatextonly> {{ product.description | raw }} </div>
Step 4: Test Your Changes Save your changes and preview a product page to ensure the description is displayed correctly. Verify that the data-seatextonly attribute is present in the HTML source (you can inspect this using your browser’s developer tools). For additional details, please refer to our documentation here: https://seatext.com/documentation-ai-scope
