Shopify 통합
아래 안내에 따라 웹사이트에 Seatext를 설치하세요. 설치 과정은 안전하며, AI는 활성화될 때까지 비활성 상태를 유지해 웹사이트 콘텐츠의 무결성을 보장합니다. 스크립트를 설치하려면 먼저 SEATEXT AI 계정이 필요합니다. 아직 계정이 없으시면 여기에서 만들 수 있습니다.
Shopify 통합
단계별 통합
아래 섹션에 표시된 SEATEXT AI의 JavaScript 코드를 복사하세요.
SEATEXTCODEINTEGRATION
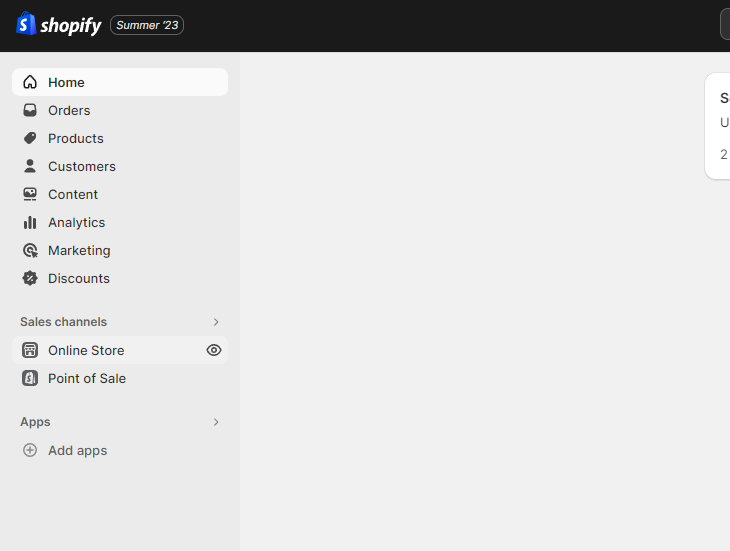
Shopify 계정에 로그인한 후 '온라인 스토어' 섹션으로 이동하세요. 그런 다음 '테마'를 선택하세요.
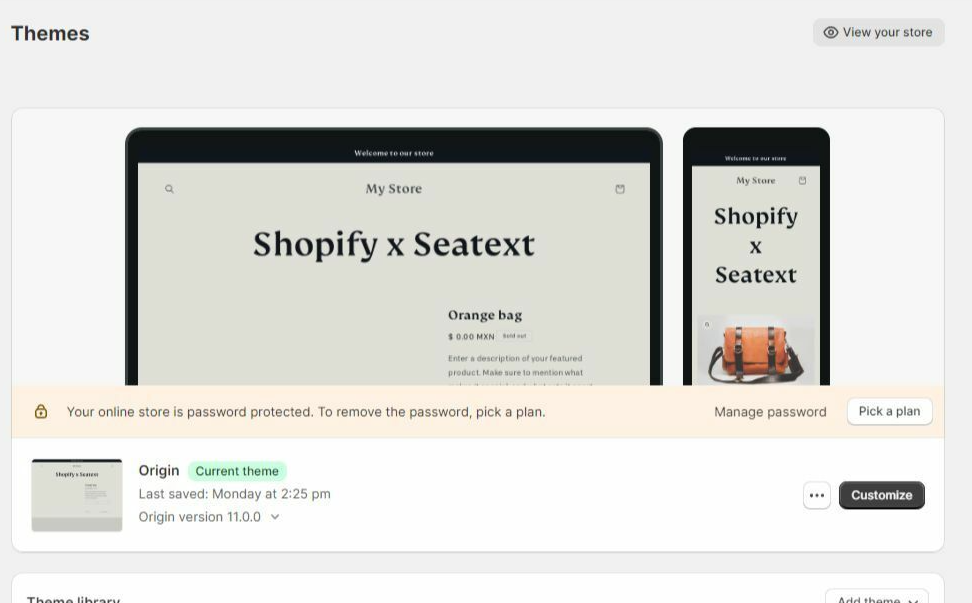
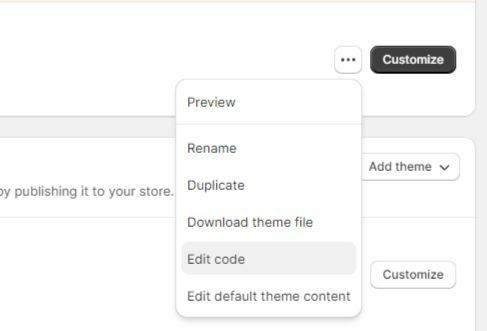
테마 섹션에서 번역하려는 테마를 찾으세요. 원하는 테마 옆에 있는 점 3개 아이콘을 클릭하고 '코드 편집'을 선택하세요.
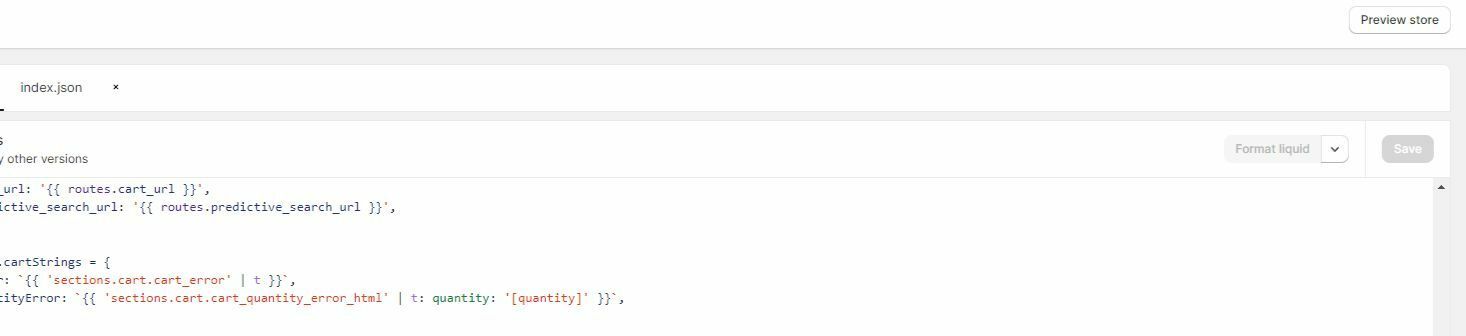
코드 편집 페이지에서 화면 왼쪽에 파일 목록이 표시됩니다. 'Layout' 폴더로 이동하여 'theme.liquid' 파일을 찾으세요.
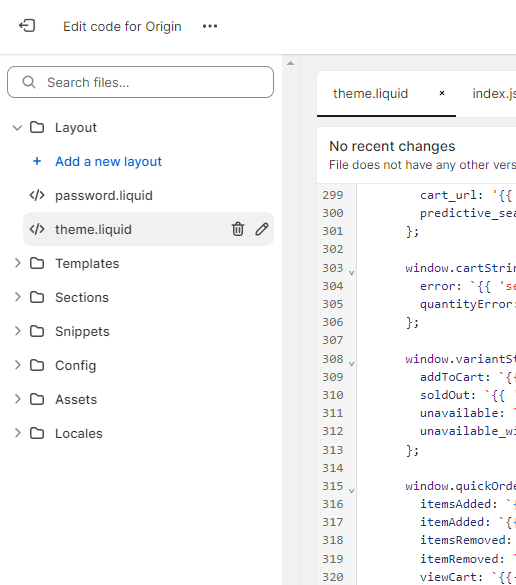
Within the theme.liquid file, scroll down to the bottom of the code. Here, you will find the closing </body> tag. Paste the JavaScript code snippet provided by SEATEXT AI directly above the closing </body> tag.


코드 스니펫을 성공적으로 붙여넣은 후 '저장' 버튼을 클릭하여 변경 사항을 유지하세요.
다중 도메인: SEATEXT AI를 여러 도메인(예: 개발 도메인과 운영 도메인)에서 사용하려면 각 도메인마다 별도의 계정을 만들어야 합니다. 각 SEATEXT AI 계정은 하나의 기본 URL에 연결됩니다. localhost와 같은 개발 URL은 보안상의 이유로 제한됩니다. 반드시 유효하고 실제 도메인을 사용하세요. 동적 개발 도메인은 트래픽을 정확히 연결하지 못해 정상 작동하지 않을 수 있습니다. 여러 웹사이트에 SEATEXT AI를 적용하려면 웹사이트당 하나씩 계정을 생성하십시오.
중요: 웹사이트를 여러 번 방문하거나 새로 고침하고, 페이지에 최소 40초 이상 머무르세요. 그러면 AI가 활성화되어 계정과 연결됩니다.
중요: 페이지 상단에 SEATEXT 로고 옆에 웹사이트 이름이 표시될 때까지 최소 5분간 기다리세요. 이는 웹사이트가 연결되어 다음 단계로 진행할 준비가 되었음을 의미합니다. 10분이 지나도 표시되지 않으면 즉시 고객지원팀에 연락하십시오. 설치 과정에 문제가 발생했을 수 있으며, 도움이 필요할 수 있습니다.
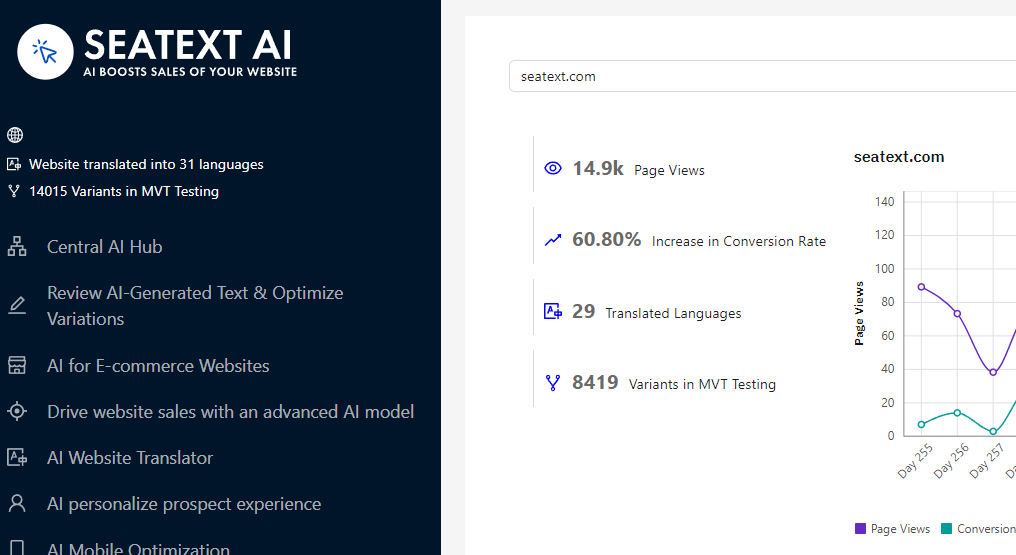
AI 활성화: 메인 AI 허브로 이동해 원하는 페이지에 필요한 AI를 활성화하세요. “Configuration”(설정)을 클릭해 AI 파라미터를 조정합니다. 선택적 편집: SEATEXT AI는 테스트용 자동 번역 및 변형을 제공합니다. SEATEXT AI 계정에 로그인하고 왼쪽 패널의 “Variants Edit”(변형 편집)으로 이동해 편집하려는 URL과 언어를 선택합니다. 여기서 변형 번역을 검토, 생성 또는 수동으로 편집할 수 있습니다.
Implement the seatextonly Tag in Your Product Descriptions To optimize your product descriptions effectively, please follow these steps: Step 1: Access Your Shopify Theme Code Log in to your Shopify admin and navigate to Online Store > Themes . Click on Actions > Edit Code for your active theme. Step 2: Locate the Product Template Identify the file that renders the product description (typically named product.liquid or located within product-template.liquid ). Step 3: Wrap the Product Description Find the product description output code, which usually appears as:
{{ product.description }}
Modify this code to wrap it in a <div> with the data-seatextonly attribute as follows:
<div data-seatextonly> {{ product.description | raw }} </div>
Step 4: Test Your Changes Save your changes and preview a product page to ensure the description is displayed correctly. Verify that the data-seatextonly attribute is present in the HTML source (you can inspect this using your browser’s developer tools). For additional details, please refer to our documentation here: https://seatext.com/documentation-ai-scope
