Tilda integracija
Install Seatext on your website by following the instructions below. The installation process is secure, and the AI remains inert until activated, ensuring the integrity of your website's content. Before you can install the script, you need a SEATEXT AI account. If you don't have an account yet, you can create one HERE
Tilda integracija
Integracijos žingsnis po žingsnio
Nukopijuokite Javascript kodą iš SEATEXT AI, kuris rodomas toliau pateiktame skyriuje.
SEATEXTCODEINTEGRATION
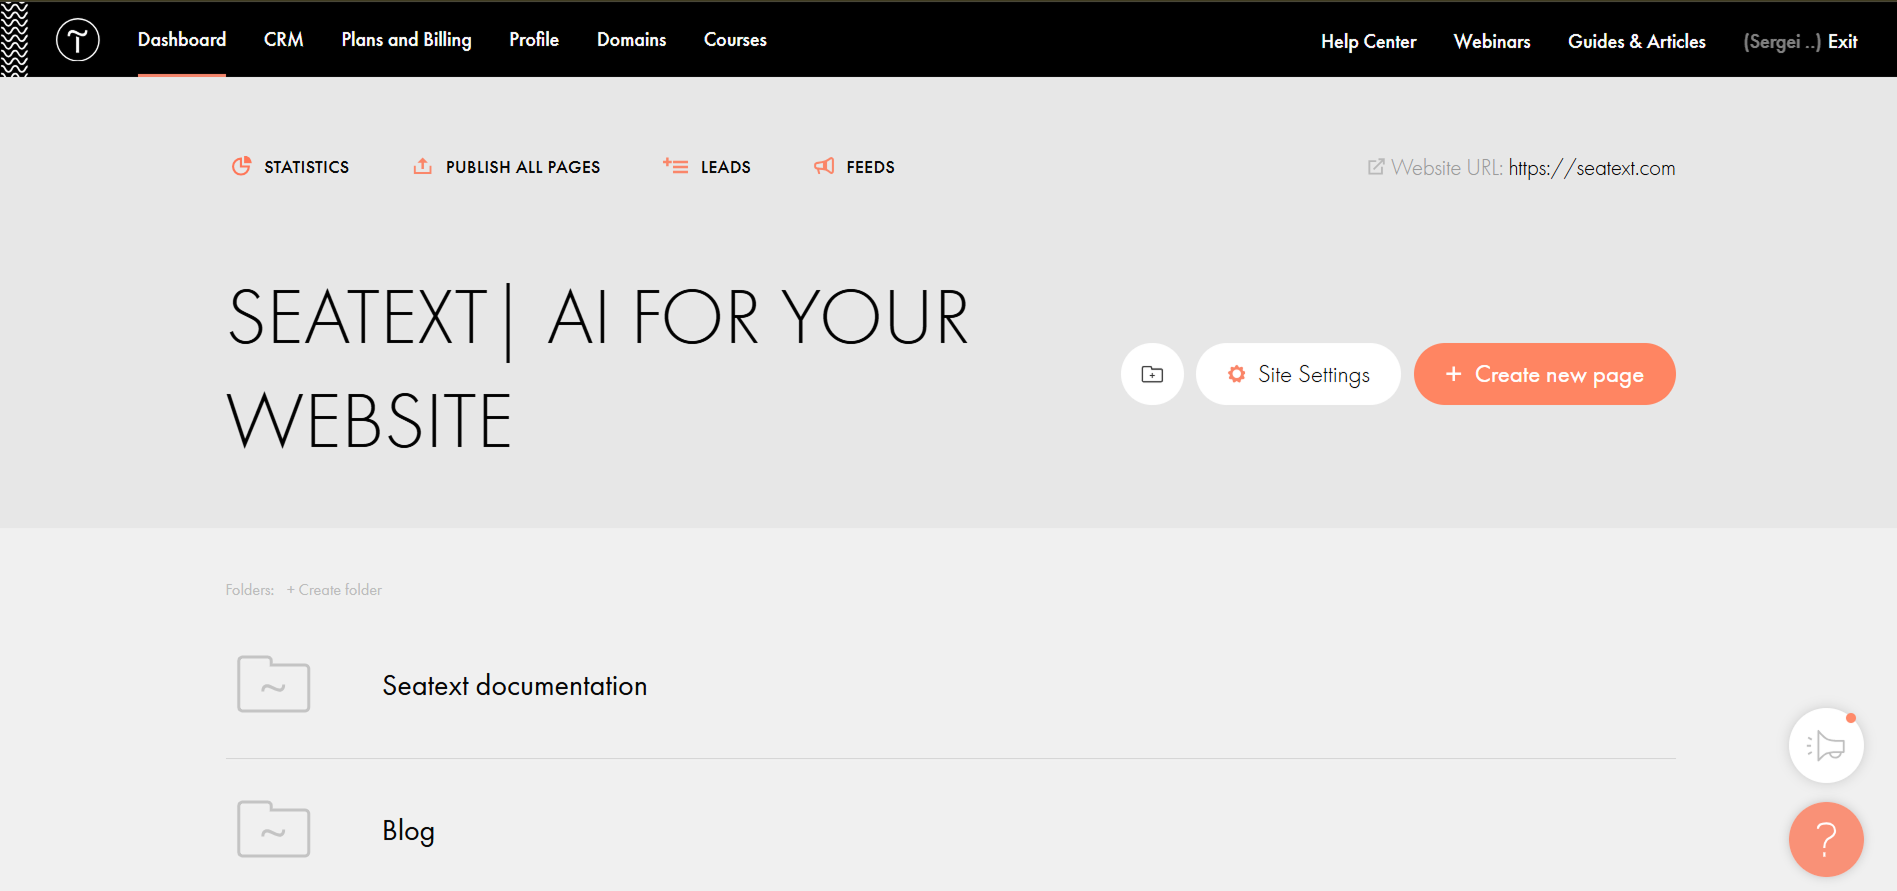
Paste the Javascript code from Seatext on your website To insert code in the head of all website pages, go to the Site Settings.
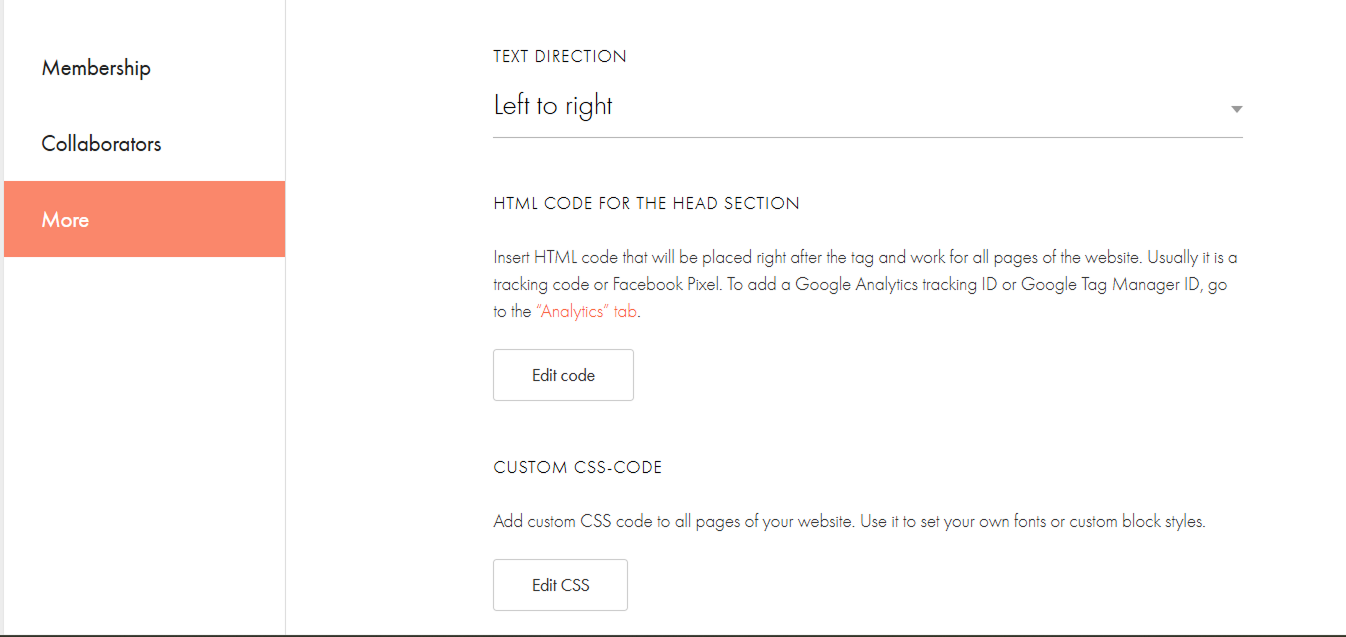
Spauskite Daugiau → HTML kodas viršutinėje sekcijoje → Redaguoti kodą.
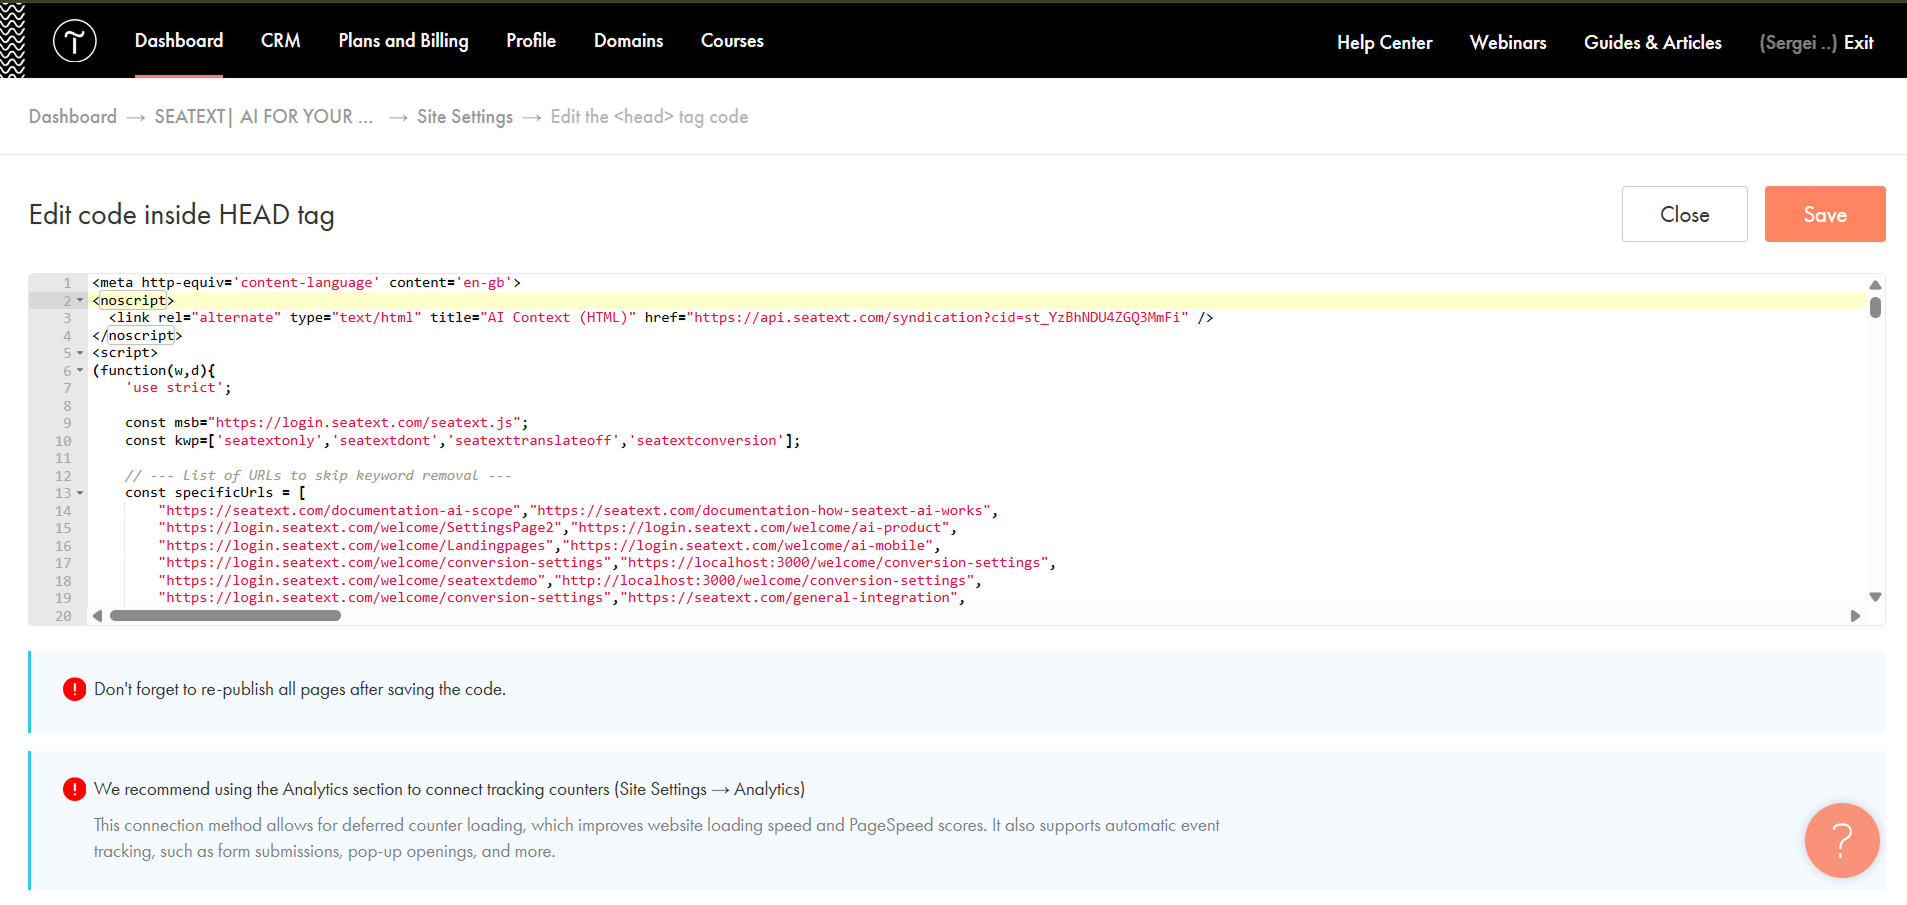
Paste the code into the field labeled 'Edit code inside HEAD tag' , then save and publish your site.
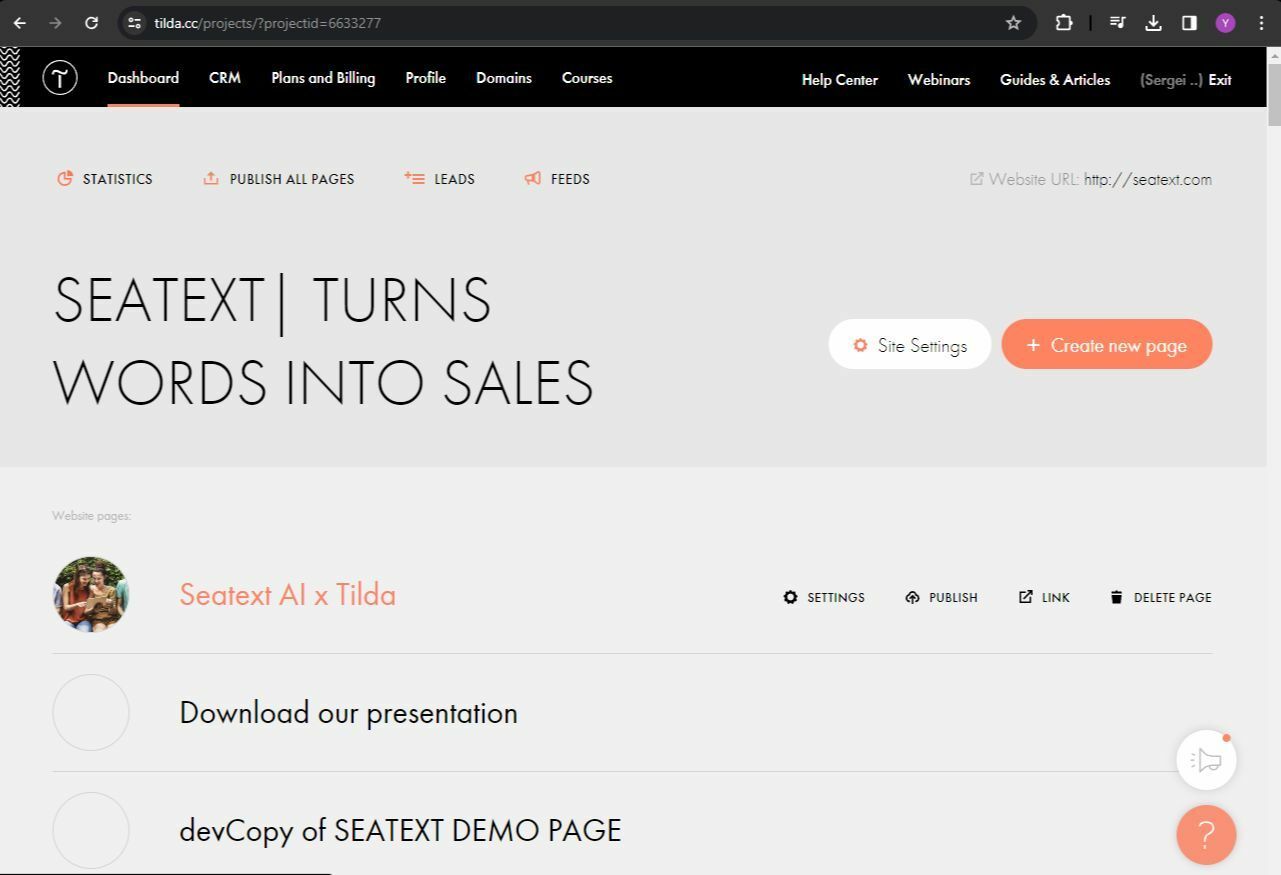
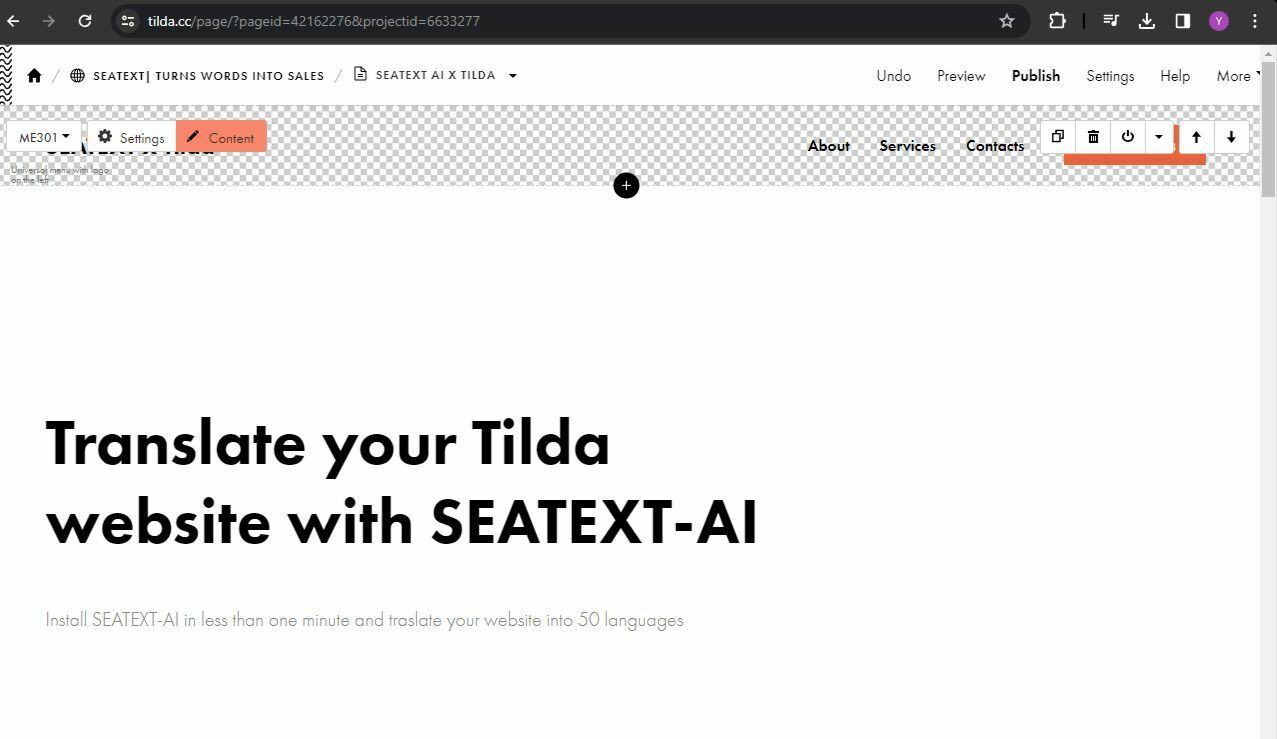
If you want to insert code in the head of a particular page: Access your Tilda dashboard and navigate to the page that you wish to translate.
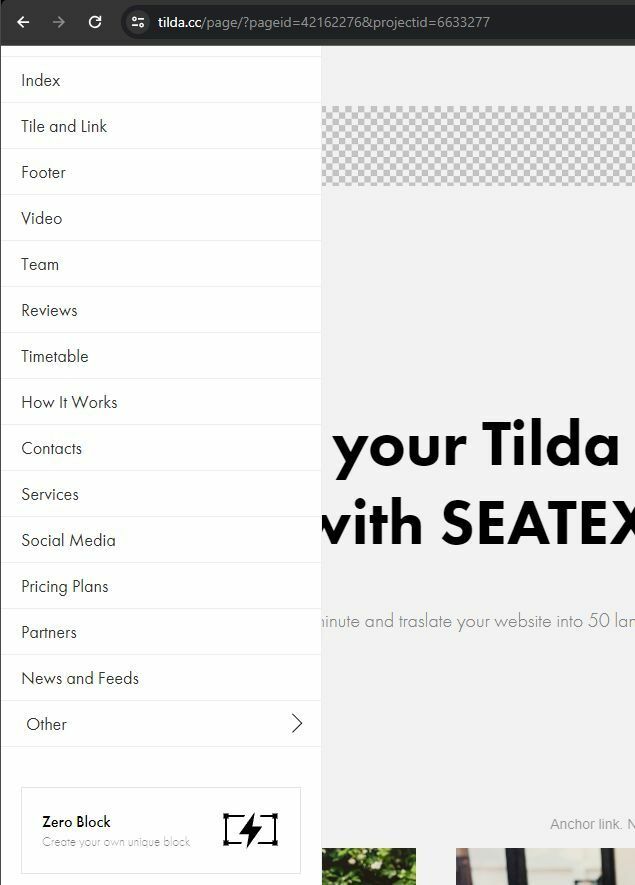
Spauskite "+" piktogramą, kad pridėtumėte naują bloką į puslapį. Pasirinkite bloką pavadinimu T123 iš pateiktų parinkčių.
Slinkite žemyn ir pasirinkite "Kita" iš bloko parinkčių.
Sėkmingai įdiegėte SEATEXT AI savo svetainėje naudodami Javascript.
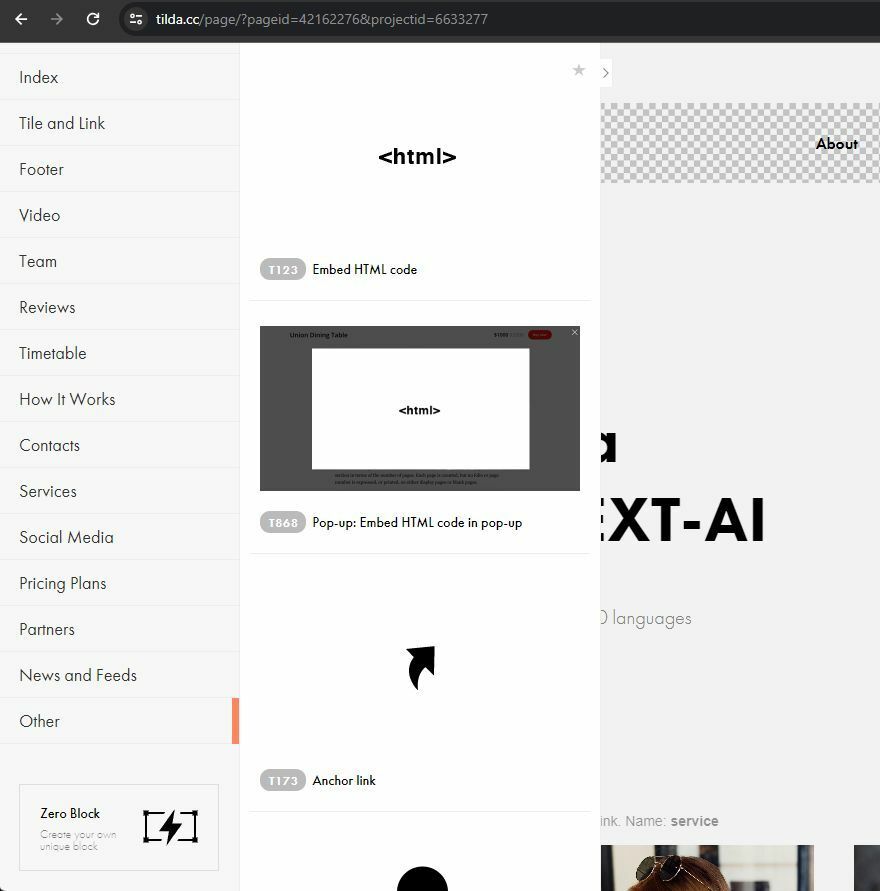
Raskite ir pasirinkite bloką pavadinimu T123, kuris leidžia įterpti įdėtą HTML kodą.
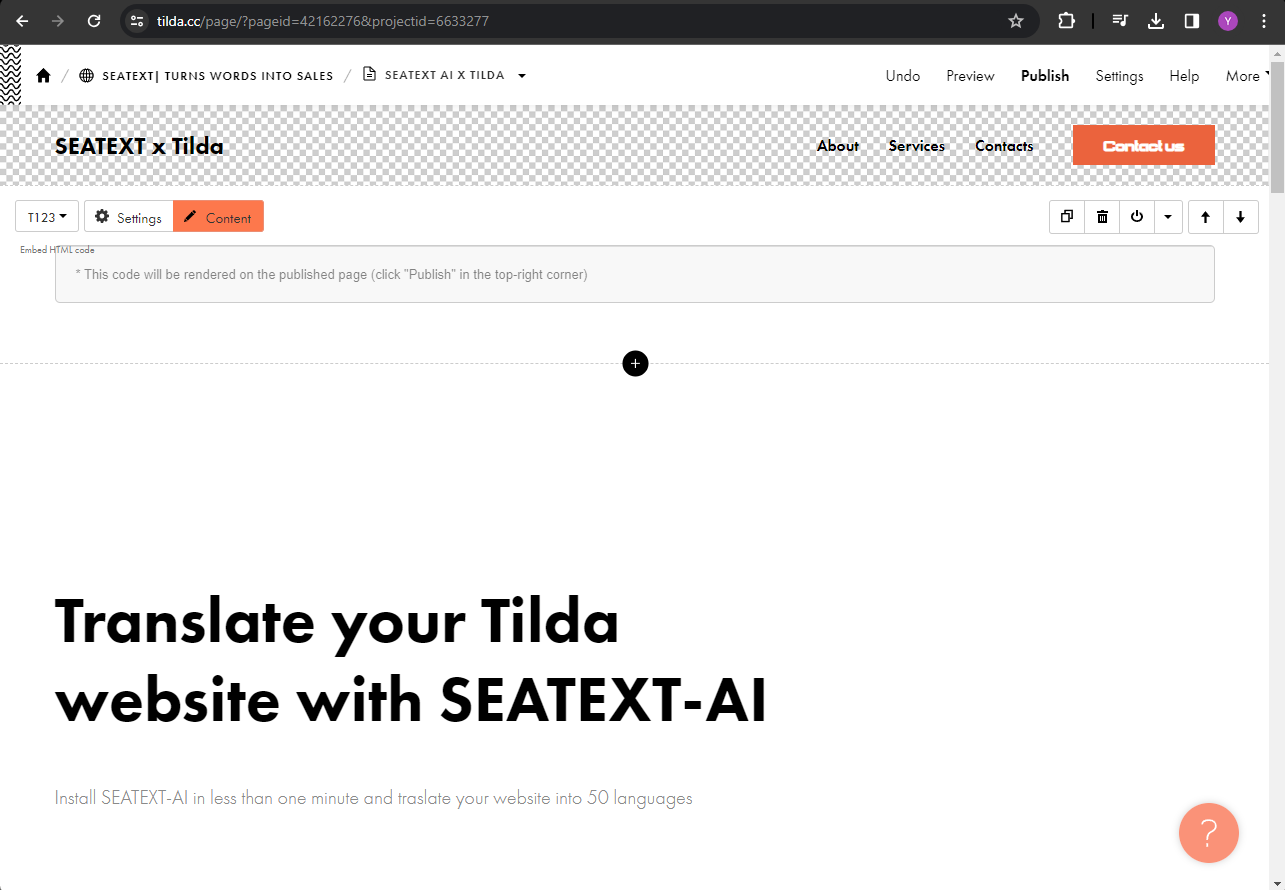
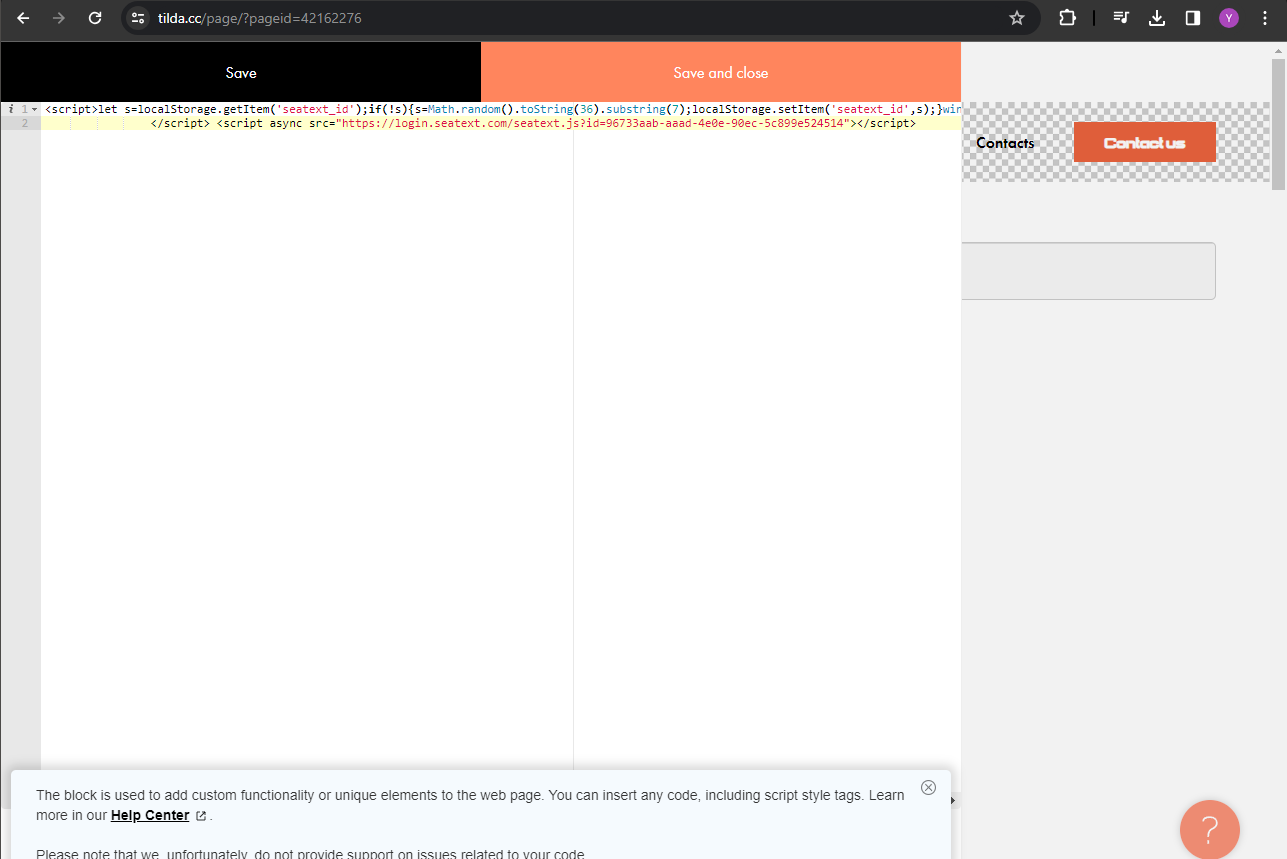
Kai blokas pridėtas prie puslapio, spauskite "Turinys", kad pasiektumėte HTML redaktorių.
Įkelkite SEATEXT AI teikiamą kodą į HTML redaktorių. Tada spauskite "Išsaugoti ir uždaryti", kad taikytumėte pakeitimus.
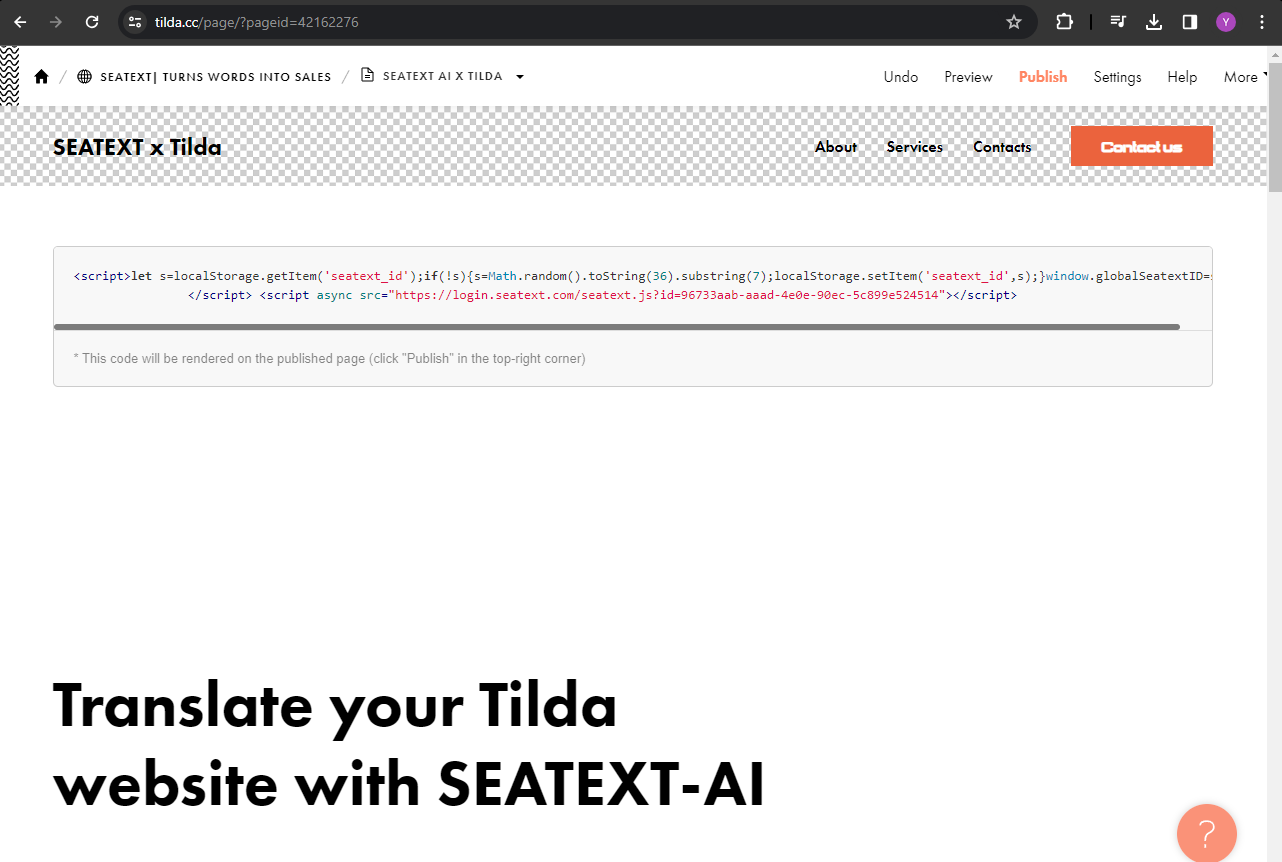
Matysite, kad kodas sėkmingai pridėtas prie puslapio. Galiausiai spauskite "Publikuoti", kad pakeitimai taptų matomai jūsų svetainėje.
Sėkmingai įdiegėte SEATEXT AI savo svetainėje naudodami Javascript.
Matysite, kad kodas sėkmingai pridėtas prie puslapio. Galiausiai spauskite "Publikuoti", kad pakeitimai taptų matomai jūsų svetainėje.
Įkelkite SEATEXT AI teikiamą kodą į HTML redaktorių. Tada spauskite "Išsaugoti ir uždaryti", kad taikytumėte pakeitimus.
Kai blokas pridėtas prie puslapio, spauskite "Turinys", kad pasiektumėte HTML redaktorių.
Raskite ir pasirinkite bloką pavadinimu T123, kuris leidžia įterpti įdėtą HTML kodą.
Raskite ir pasirinkite bloką pavadinimu T123, kuris leidžia įterpti įdėtą HTML kodą.
Kai blokas pridėtas prie puslapio, spauskite "Turinys", kad pasiektumėte HTML redaktorių.
Įkelkite SEATEXT AI teikiamą kodą į HTML redaktorių. Tada spauskite "Išsaugoti ir uždaryti", kad taikytumėte pakeitimus.
Matysite, kad kodas sėkmingai pridėtas prie puslapio. Galiausiai spauskite "Publikuoti", kad pakeitimai taptų matomai jūsų svetainėje.
Multiple Domains If you need to use SEATEXT AI on multiple domains (e.g., a development domain and a production domain), you must create separate accounts for each domain. Each SEATEXT AI account is linked to a single primary URL. Restrictions and Security Development URLs, such as localhost, are restricted for security reasons. Ensure you use a valid, real domain for these cases. Dynamic development domains may not function properly, as SEATEXT AI might be unable to reliably associate traffic with your account. Using SEATEXT AI on Multiple Websites To use SEATEXT AI on several websites, create one account for each website.
Important: Visit or refresh your website several times and stay on your page for at least 40 seconds—this will activate the AI and link it to your account.
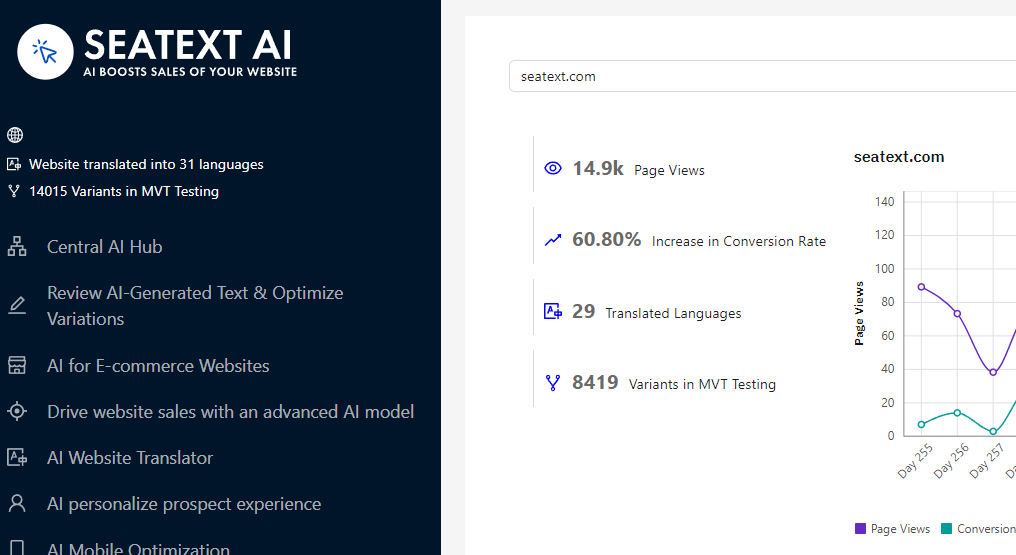
Important: Wait at least five minutes until you see your website name displayed next to the SEATEXT logo at the top of this page. This indicates that your website is connected and ready to proceed to the next step. If you do not see it at the top of the page after 10 minutes, please contact our support team immediately. This could indicate an issue during the installation on your platform, and you may need our assistance.
Activating AI Proceed to the Main AI Hub to activate the necessary AI on your preferred pages. Click on "Configuration" to adjust the AI parameters. Optional Editing: SEATEXT AI provides your initial round of automatic translations and variants for testing. Log in to your SEATEXT AI account, navigate to "Variants Edit" in the left panel, and select the URL and language you wish to edit. Here, you can review, create, or manually edit translations for your variants.