Godaddy integration
请按照以下步骤在您的网站上安装 Seatext。安装过程安全可靠,AI 在激活前保持静止,确保网站内容的完整性。安装脚本前,您需要先拥有 SEATEXT AI 账户。如果尚未注册,可在此创建。
Godaddy Integration
分步集成
复制本节中出现的 SEATEXT AI Javascript 代码。
SEATEXTCODEINTEGRATION
Step 2: Log in to your GoDaddy account using your credentials. Step 3: Navigate to your products and select the website you intend to translate. Step 4: Click on “Edit Site” to access the Website Builder tool. Step 5 : Within the Website Builder interface, locate the page where you wish to add the translation feature. Step 6: Click on “Add Section” to insert the translation feature onto the desired page.
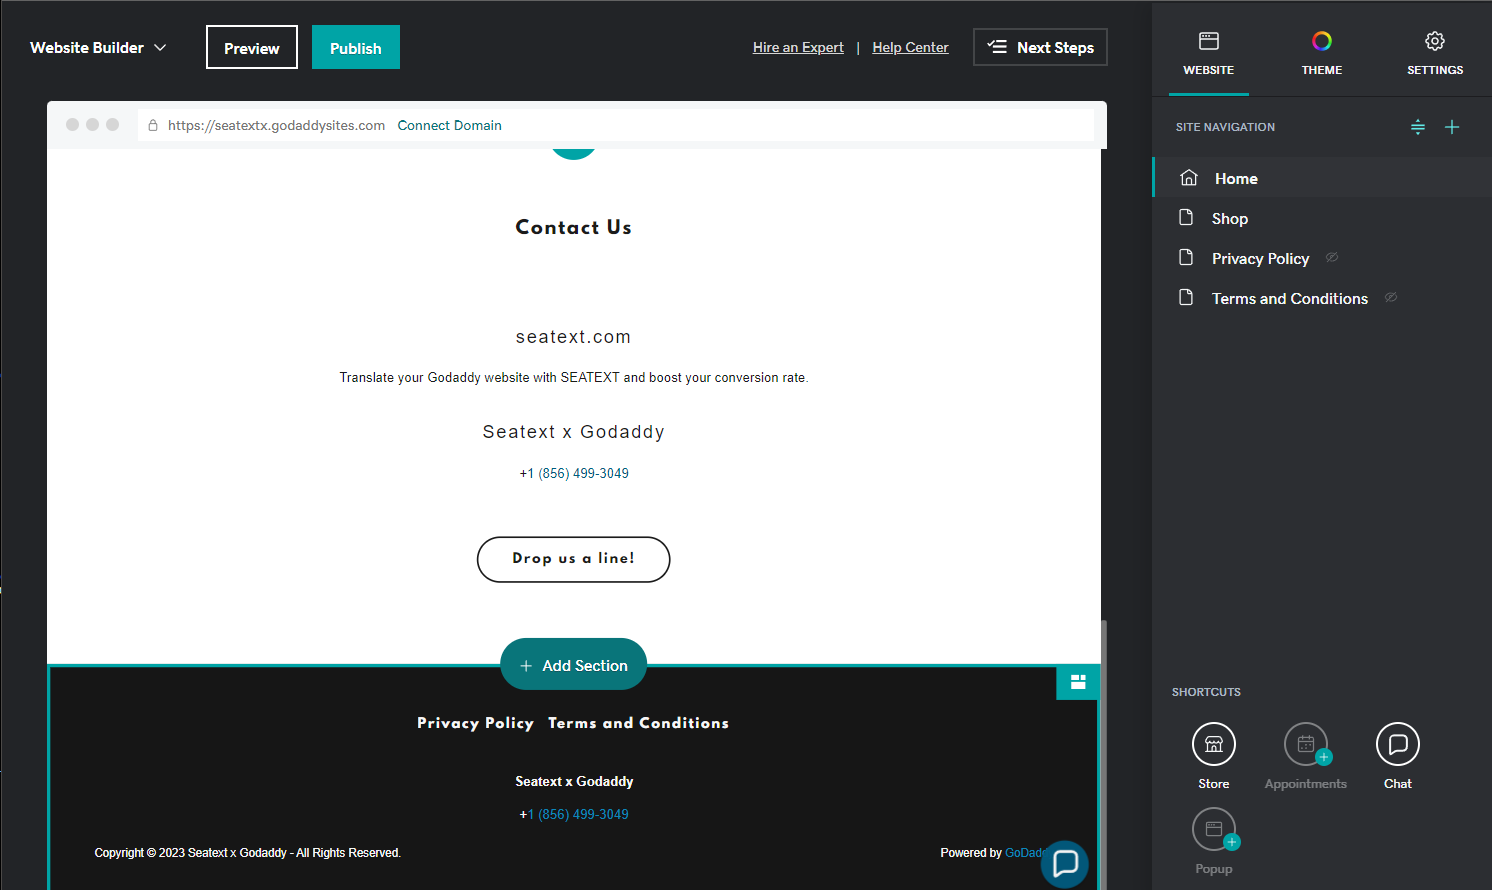
Step 7: In the right panel, click on “ Files & Web ”. Step 8: Look for the “ HTML ” section and add it to your page.
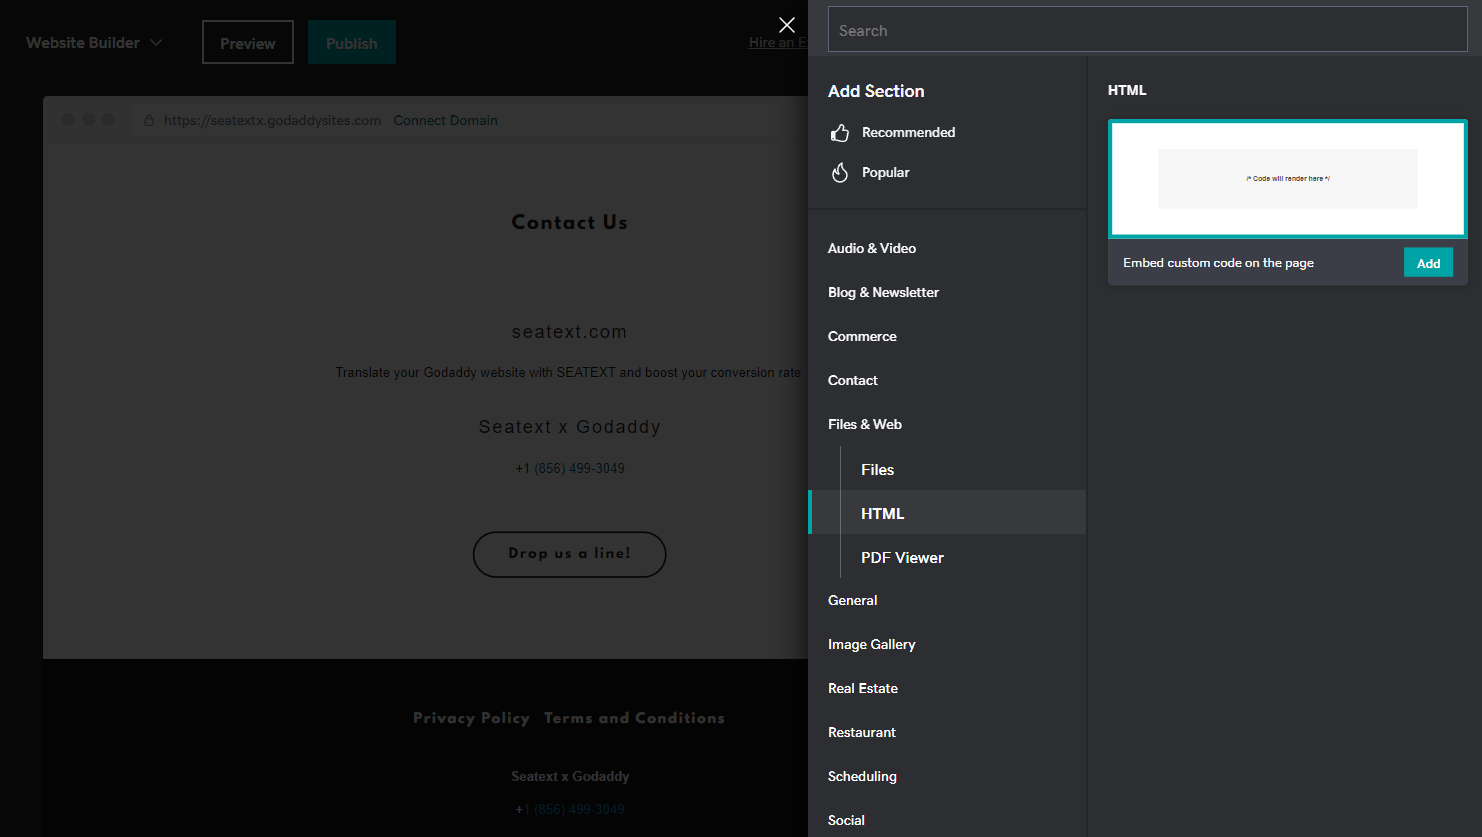
Step 9: Paste the code provided in the section Custom Code in the right panel.
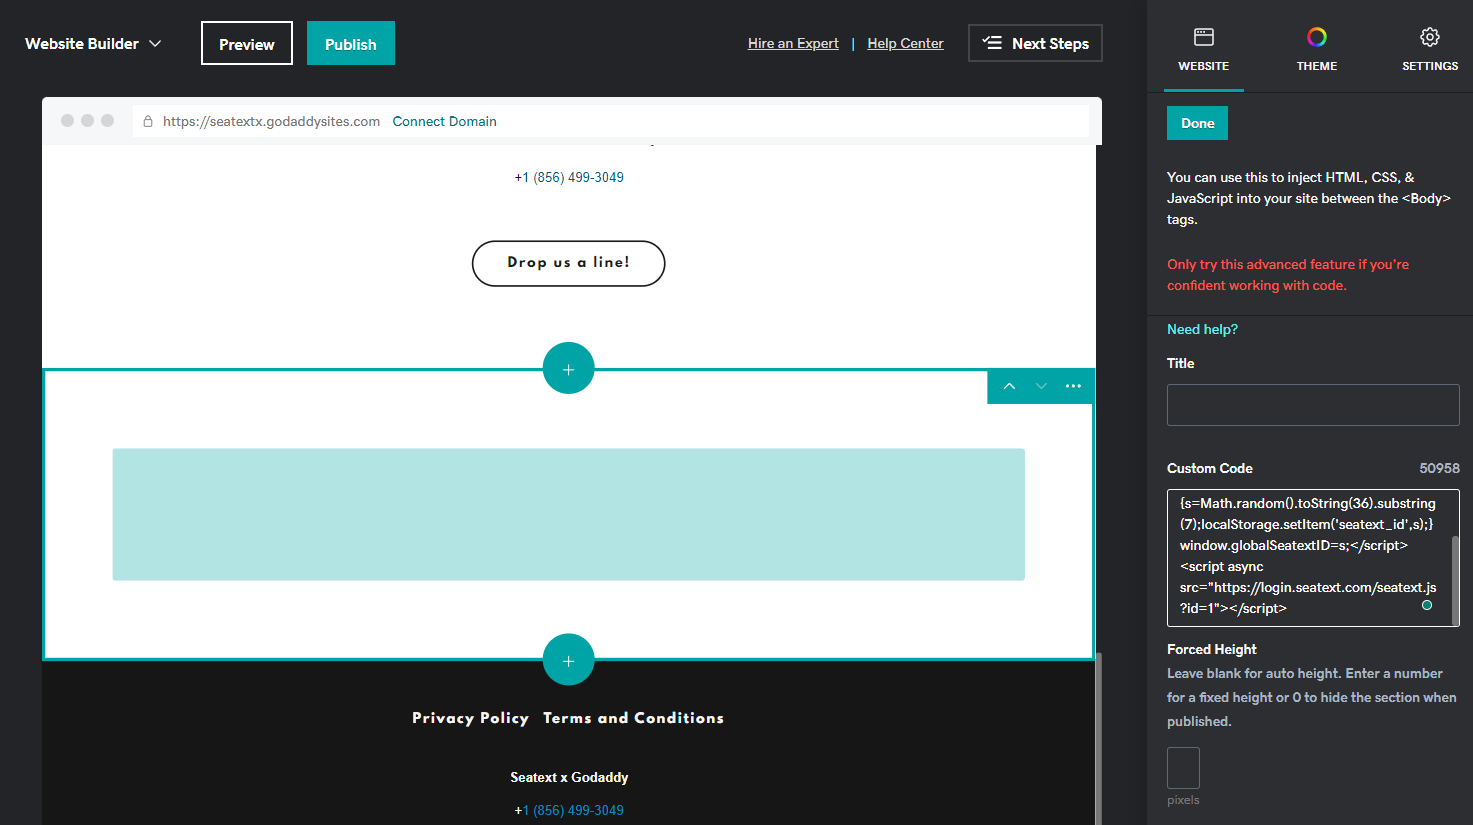
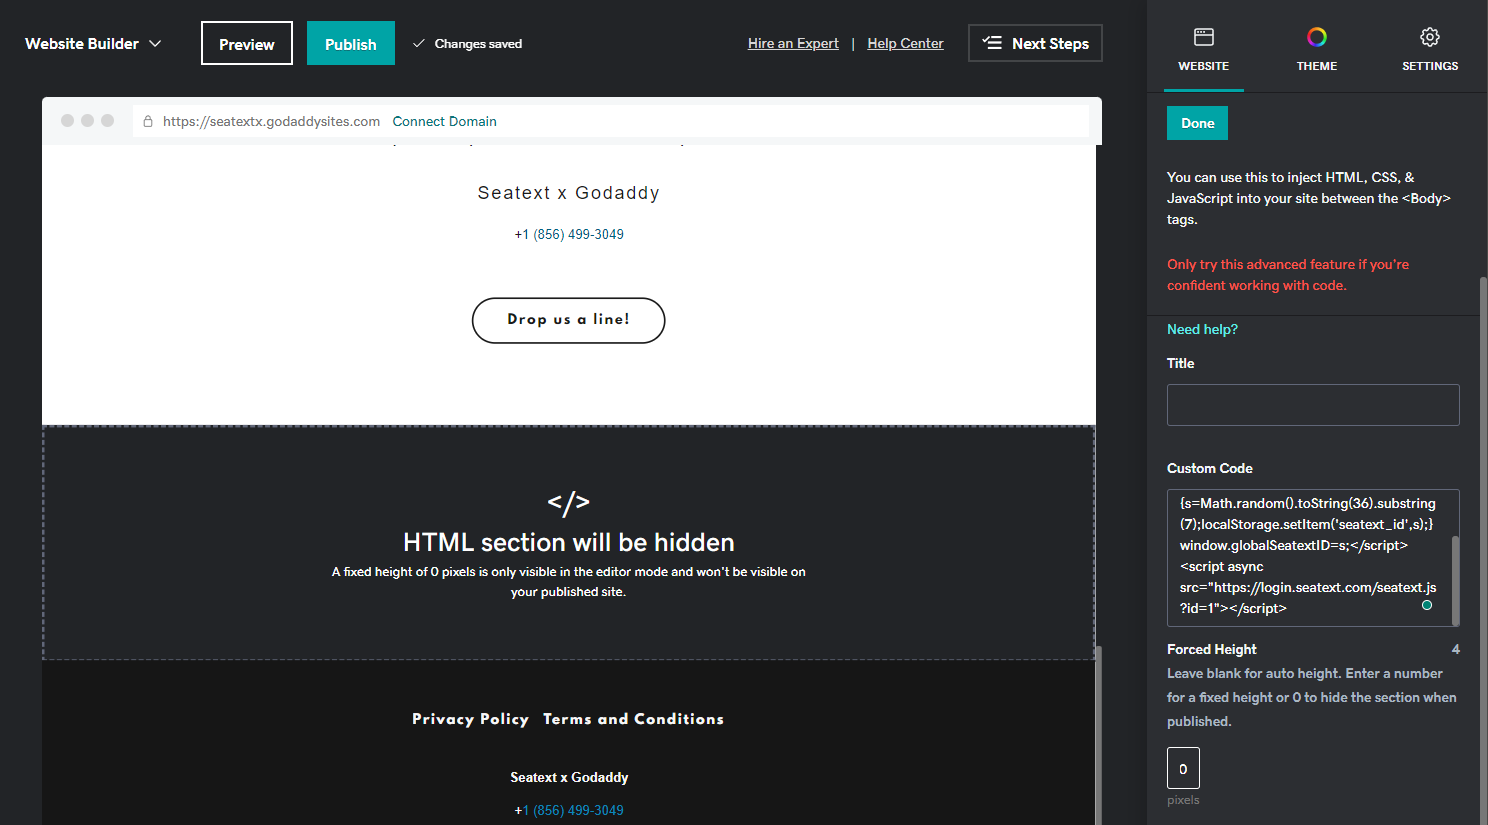
Step 10: In the section Forced Height set the value to 0. Finally click on Done and Publish to save changes.
Important: To add SEATEXT AI to your website globally, please follow these instructions.
Adding SEATEXT AI to the header section of your site: Access the Header HTML Section In the left panel, click Settings . Click Head HTML . Head HTML . Add content to the head section Content Field. Body End HTML . Add custom HTML/Javascript just before the closing tag of the </body> element for each page in the site. Click Save .
多域名 如果您需要在多个域名上使用 SEATEXT AI(例如开发域名和生产域名),必须为每个域名创建单独的账户。每个 SEATEXT AI 账户仅关联一个主 URL。出于安全考虑,开发 URL(如 localhost)受到限制。请务必使用有效的真实域名。动态开发域名可能无法正常工作,因为 SEATEXT AI 可能无法可靠地将流量关联到您的账户。使用 SEATEXT AI 在多个网站上时,请为每个网站创建一个账户。
重要提示:请多次访问或刷新您的网站,并在页面停留至少 40 秒——这将激活 AI 并将其关联到您的账户。
重要提示:请等待至少 5 分钟,直至在本页顶部的 SEATEXT 标志旁看到您的网站名称。这表明网站已成功连接,可进入下一步。如果 10 分钟后仍未显示,请立即联系支持团队。这可能是平台安装过程中出现的问题,您可能需要我们的帮助。
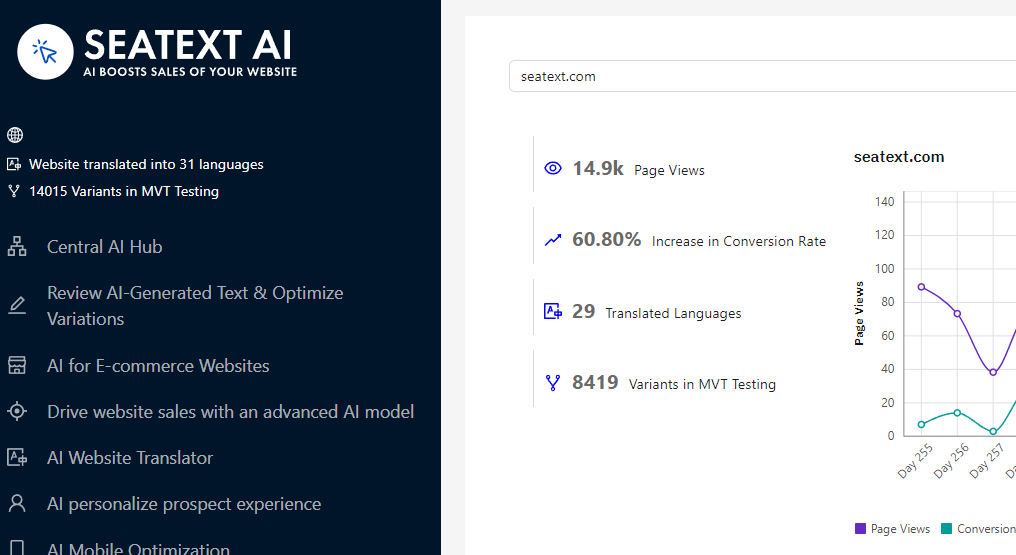
激活 AI:前往主 AI 中心,在您选择的页面上激活所需的 AI。点击“配置”以调整 AI 参数。可选编辑:SEATEXT AI 为您提供首轮自动翻译和变体供测试。登录 SEATEXT AI 账户,在左侧面板选择“变体编辑”,挑选要编辑的 URL 和语言。在此您可以查看、创建或手动编辑变体的翻译。
